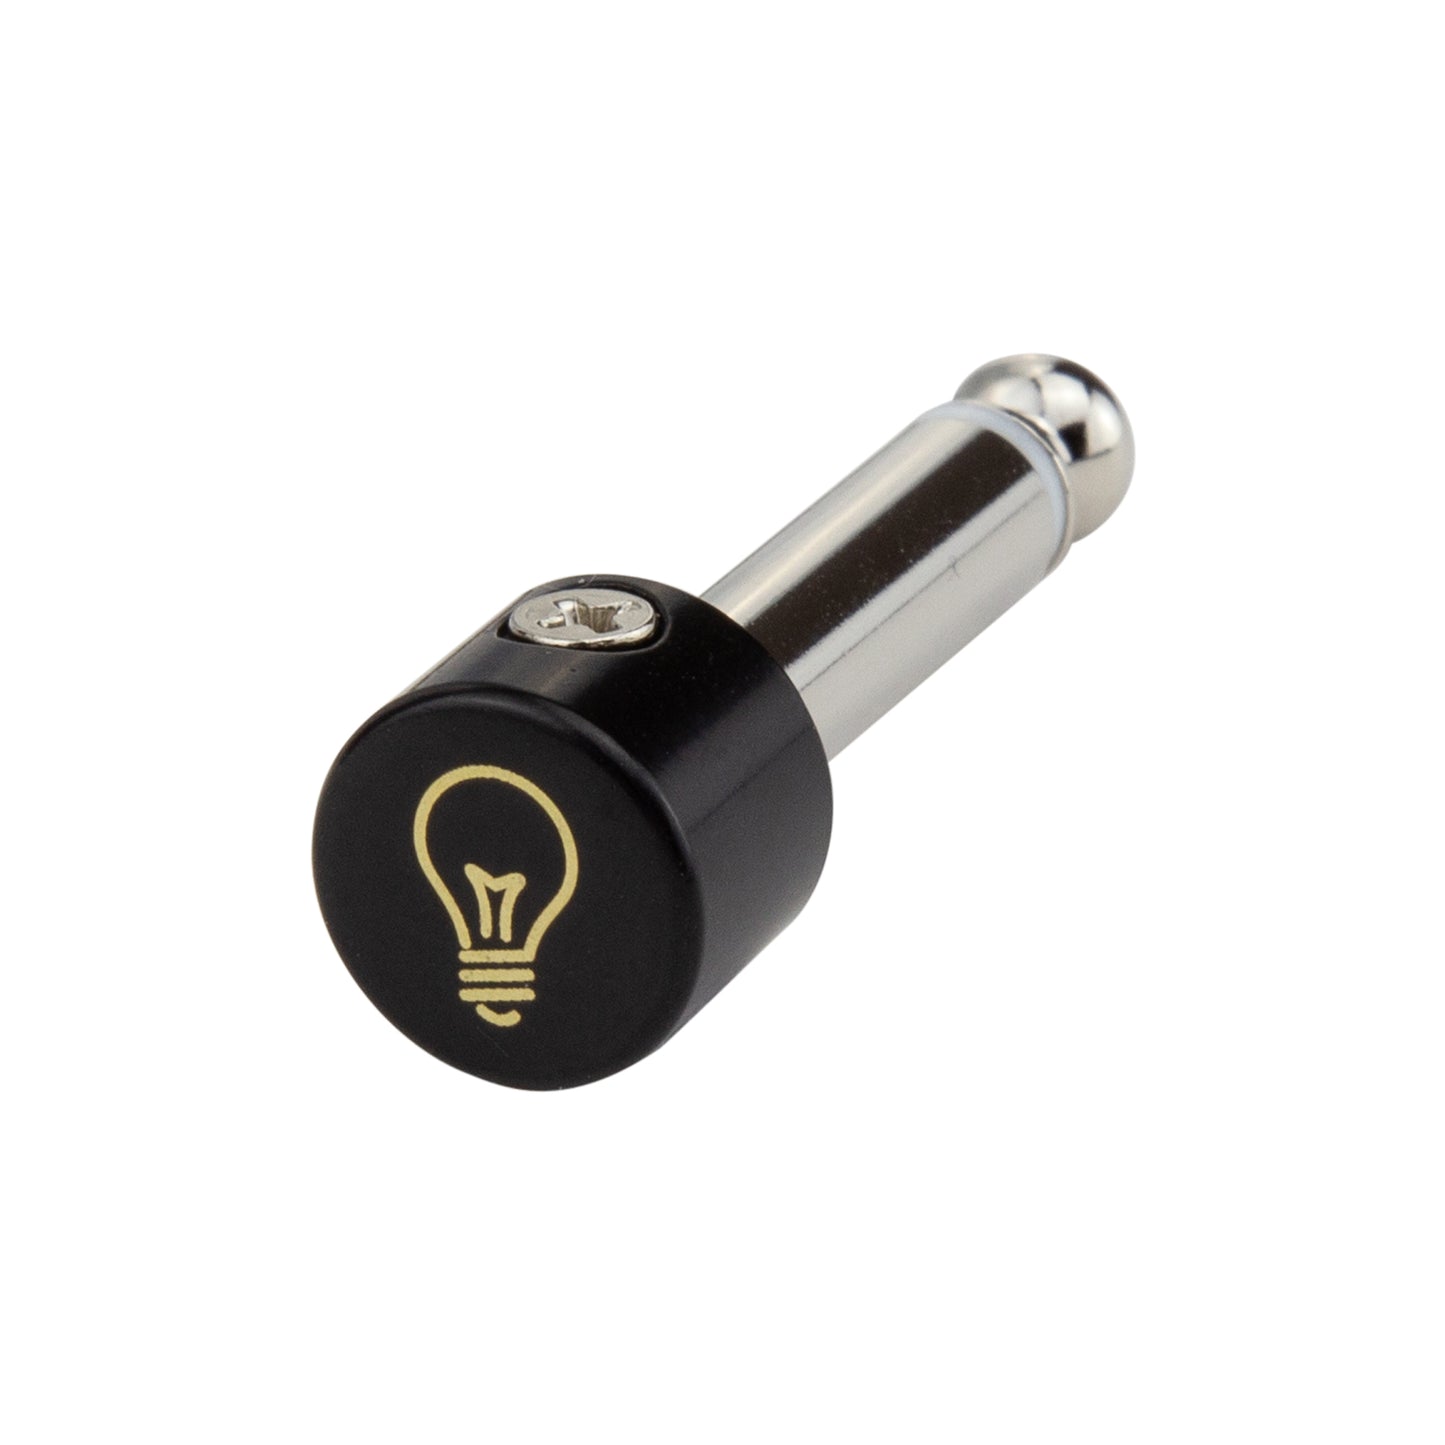
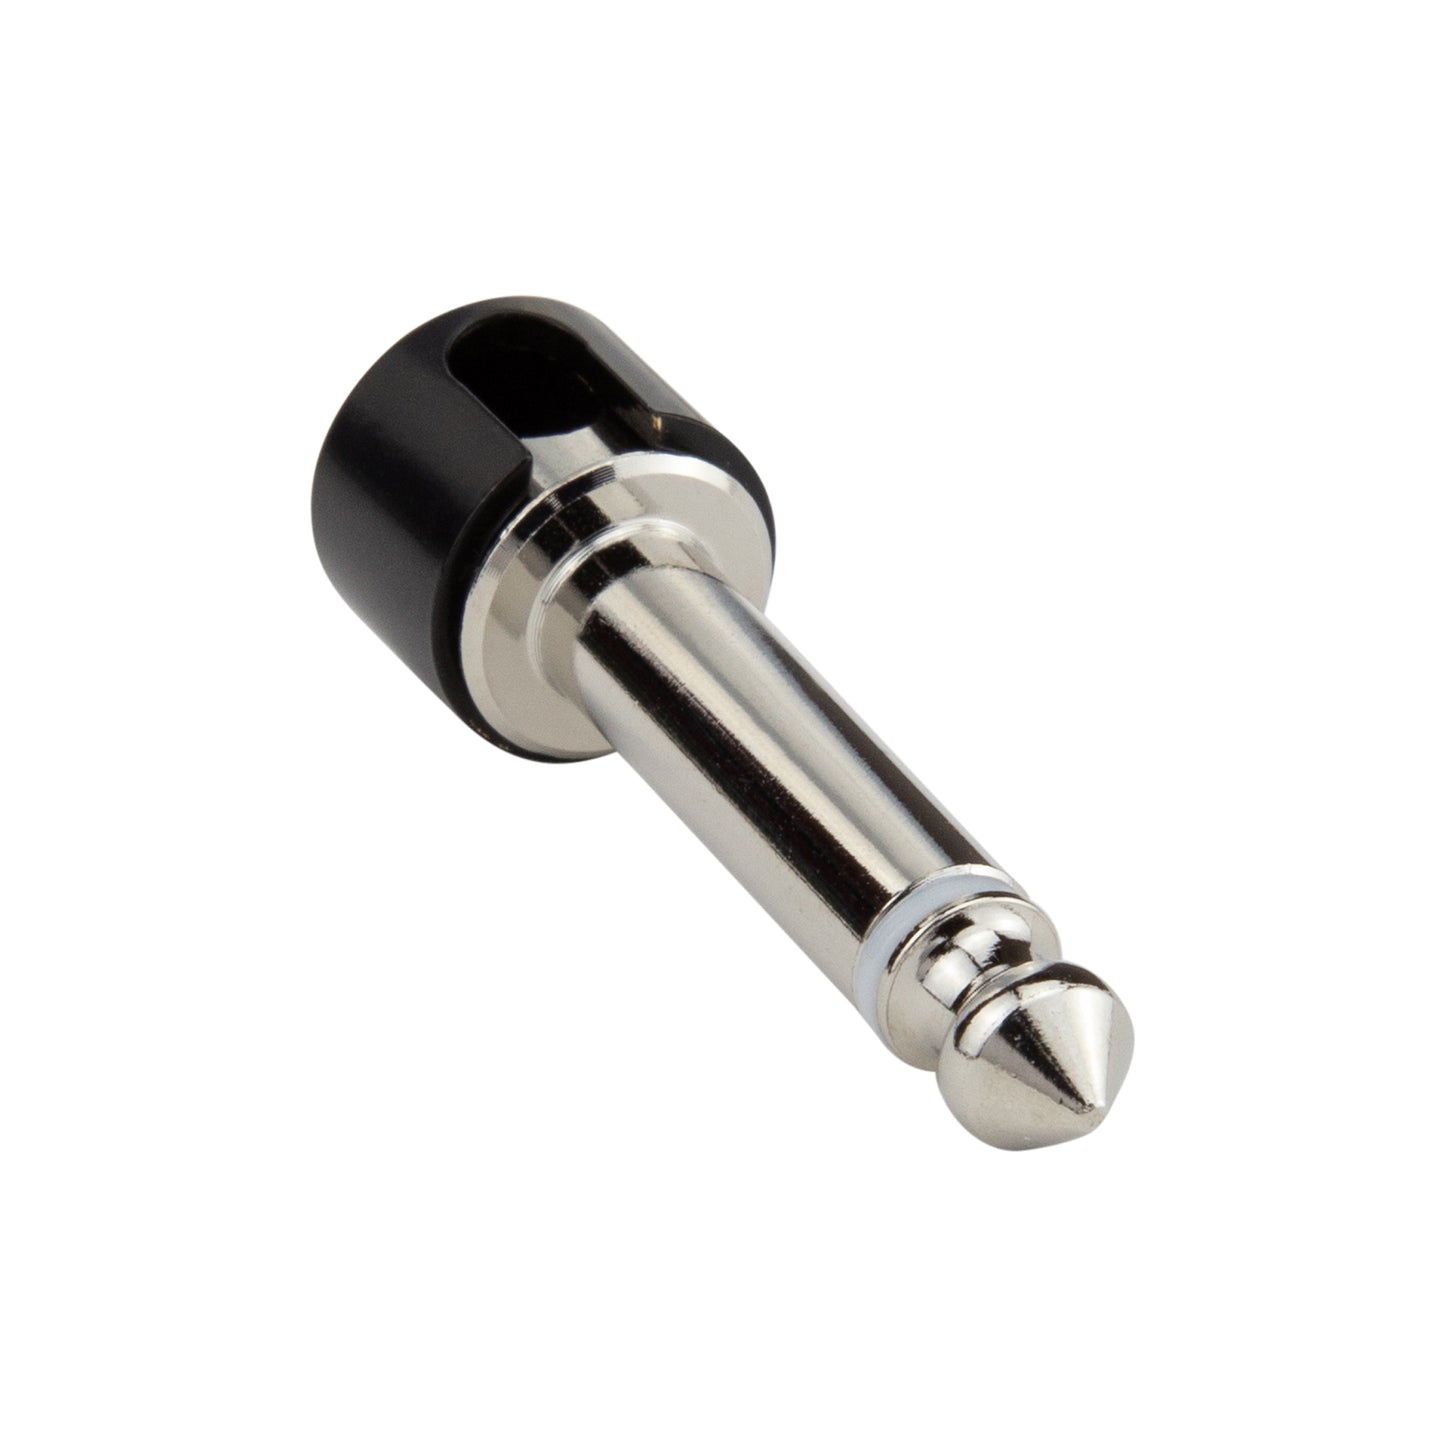
Creation Solderless Plugs 4 pack
Creation Solderless Plugs 4 pack
Expand your solderless kit with 4 additional plugs.
What's Included:
- 4 Creation Solderless Right Angle Plugs
- Cable not included with this kit
You will need:
- Something to cut the cable clean (cable cutter, scissors, box cutter)
- Small phillips screwdriver
Instructions:
Step 1:
Cut your cable to length with a very clean, straight cut (not at an angle) being careful not to flatten the cable as you cut it.
(If the cable does become flattened, simply roll it between your fingers back into it's original roundness.)

Step 2:
Insert the cable into the plug until you feel it stop against the pin inside. Then give it a moderately firm push so the pin pushes into the center of the cable.

Step 3:
Bend the cable into the notch and place the cap over the cable and plug. Align the hole for the set screw and then thread the screw into the opening. Screw firmly until the screw stops, but don’t over tighten.

tep 4:
Be sure to test each cable as you complete them versus assembling your entire board. If the cable tests correctly, Huzzah! Now enjoy your cable that you made yourself. And be sure to send us photos of your completed board or tag us on Social Media.
Troubleshooting:
The solderless system works by using a pin inside the plug. This pin goes into the middle of the center wire of the cable for your signal connection and when assembled the set screw breaks through the outer layer to make contact with the ground.
More than likely if your cable is not functioning properly 1 of 3 issues has occurred.
1. Either it's a problem with the cable itself by not being cut straight up and down, or being too flattened when pushed in. Check steps 1 and 2.
2. The cable may not have been pushed in firmly enough, or it is possible to push too firmly.
3. The screw may need to be tightened more or it’s possible it was over tightened.
Share


